

No products in the basket.

Sensors
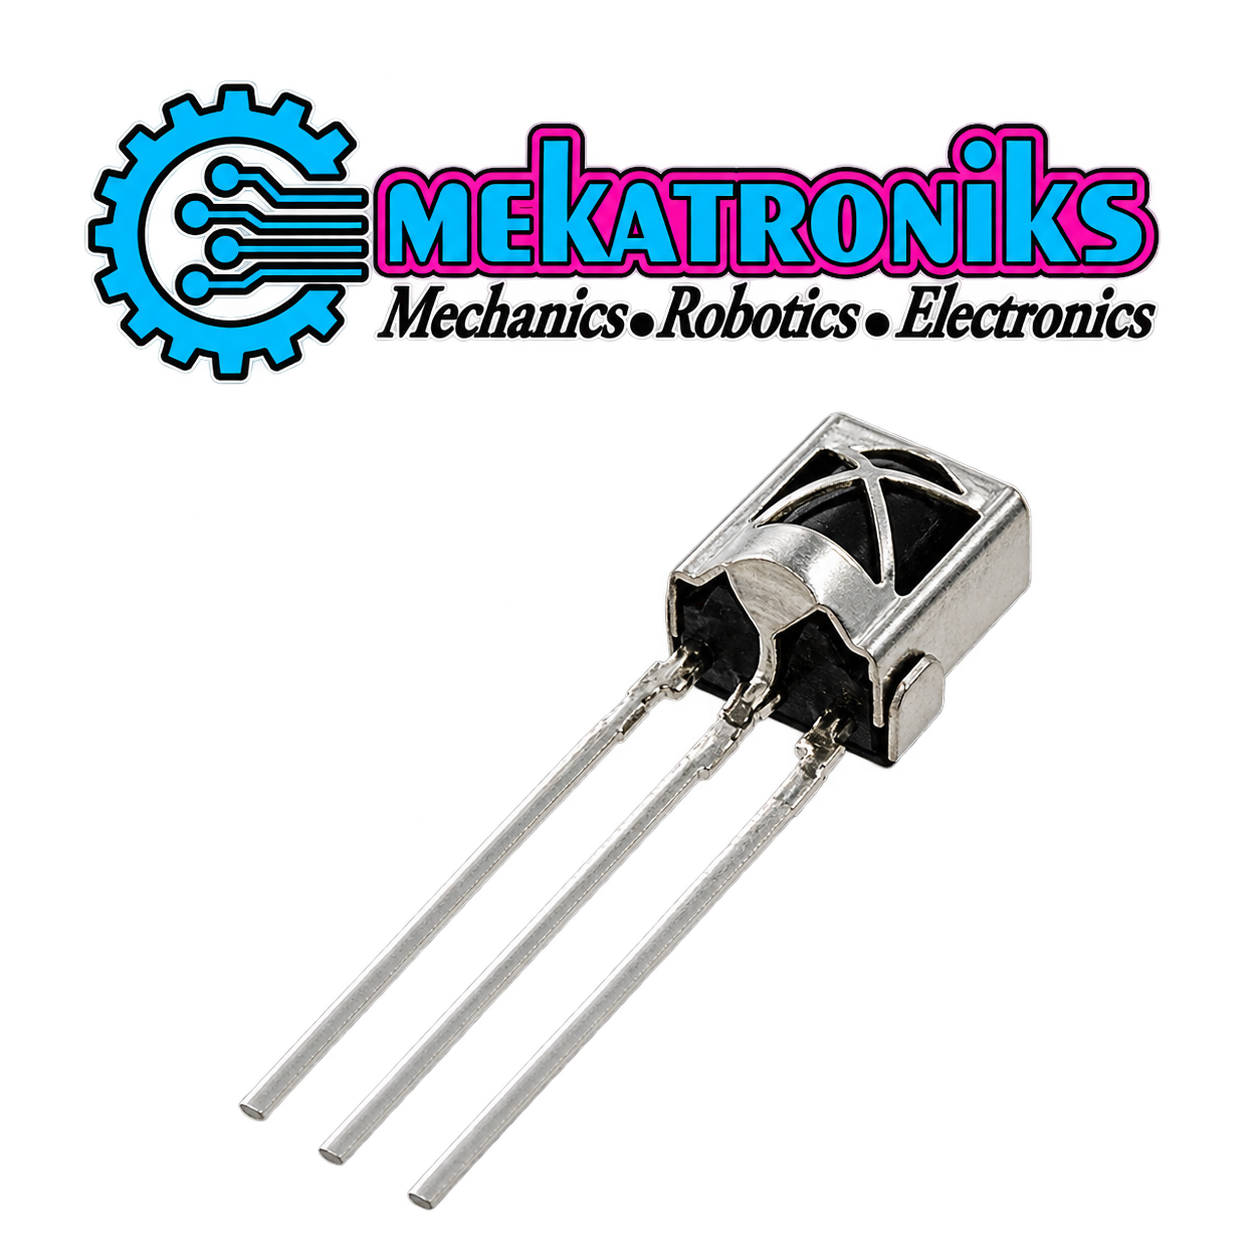
38kHz IR Receiver 3 Pin for Arduino
The 38kHz IR Receiver detects signals from compatible infrared remote controls. Its three connections provide power, ground, and signal output for use with a suitable controller. Add remote control input to Arduino projects after confirming the receiver’s pinout, voltage requirements, and supported remote protocol.
₨ 40
38kHz IR Receiver for Arduino Remote Control Projects
The 38kHz IR Receiver adds infrared remote input to a compatible electronics project. It detects remote signals using a suitable 38kHz carrier and provides an output that your controller can process.
For students, hobbyists, and electronics enthusiasts in Pakistan, this receiver is useful for learning how remote commands interact with programmed devices. Combine it with a compatible remote, controller board, and decoding software to build your application.
Three-Pin Connection
The receiver uses connections for power, ground, and signal output. Check the exact component’s datasheet or module labels before wiring, because the physical pin order can vary between models.
Also confirm its operating voltage and output levels. This is especially important when connecting the receiver to a controller with 3.3V inputs.
Applications of the 38kHz IR Receiver
- Remote-controlled LED projects.
- Menu navigation and button input.
- Arduino robot control experiments.
- Remote command decoding demonstrations.
- Classroom infrared communication activities.
- School and university electronics prototypes.
Additional output hardware depends on the project. For example, controlling a motor requires a suitable driver, while switching other loads may require a separate interface circuit.
Remote and Software Compatibility
A matching carrier frequency does not guarantee that every remote will work with your program. The remote’s communication protocol must also be supported by the decoding software.
Start by checking whether your chosen library can identify the remote’s button codes. Once the commands are detected reliably, assign them to functions in your project.
Getting Started with Arduino
First, identify the receiver’s power, ground, and output pins. Connect it according to the verified pinout and the requirements of your controller board.
Next, install a compatible infrared decoding library. Run a basic receive example and press buttons on a suitable remote while observing the decoded results.
Finally, use the detected commands in your application. Keep the receiver’s sensing face directed towards the remote and test operation under the lighting conditions where the project will be used.
Product Specifications
| Specification | Details |
|---|---|
| Product type | Infrared remote receiver |
| Receiver carrier frequency | 38kHz |
| Connection count | 3 pins |
| Connection functions | Power, ground, signal output |
| Intended use | Compatible remote control and electronics projects |
| Operating voltage and pin order | Confirm for the supplied model |
Buy a 38kHz IR Receiver in Pakistan
Choose the 38kHz IR Receiver from Mekatroniks for your next Arduino remote control project. Confirm the exact receiver model, electrical requirements, and remote compatibility before ordering.
Based on 0 reviews
Be the first to review “38kHz IR Receiver 3 Pin for Arduino”
Related products
- Sensors
Ultra Sonic Sensor SR-04 Module for Arduino in Pakistan
The HC-SR04 ultrasonic sensor measures distance without touching the target. This 5V module offers a nominal measuring range of 2–400 cm and uses separate Trigger and Echo connections. Use it with Arduino Uno R3 or a classic Nano for robot cars, obstacle detection, and educational electronics projects.
SKU: n/a - Arduino & Components, LCD, LCD Display & Lights, Sensors
IIC/I2C 16 Pin Serial Interface LCD Display Adapter Module
 Arduino & Components, LCD, LCD Display & Lights, Sensors
IIC/I2C 16 Pin Serial Interface LCD Display Adapter Module
About
- IC/I2C Serial Interface Adapter module.
- Or I2C interface module for 16×2 (1602) & 20×4 (2004).
- LCD displays with on-board contrast control adjustment.
- Backlight and I2C communication interface.
SKU: n/a



There are no reviews yet.