ESP32 CAM MB USB Programmer Board CH340G USB To Serial Port
About
- ESP32 CAM MB Programmer Board
- CH340G USB To Serial Port
- Easy use for ESP32 CAM MB With Micro USB Port
Note:
Only Programmer Board ,,ESP32 CAM not Include.
₨ 350
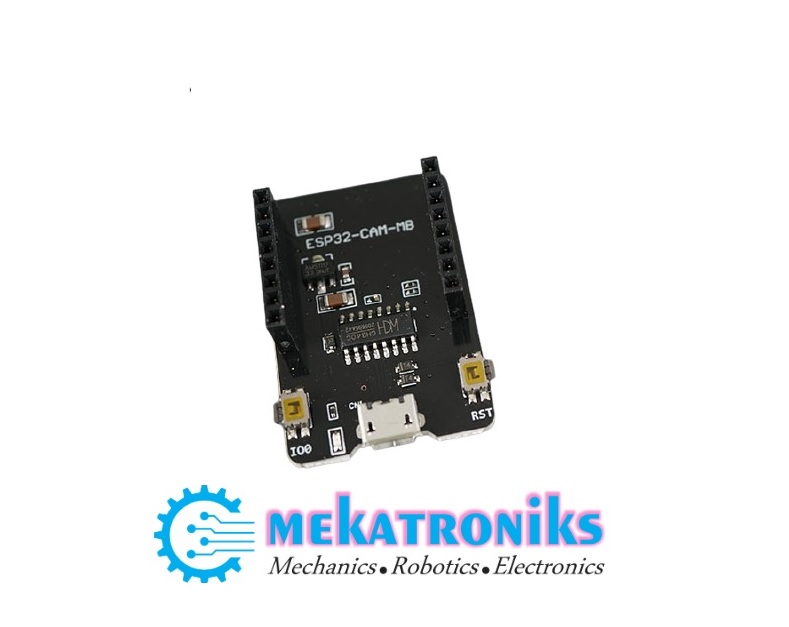
ESP32 CAM MB Programmer.
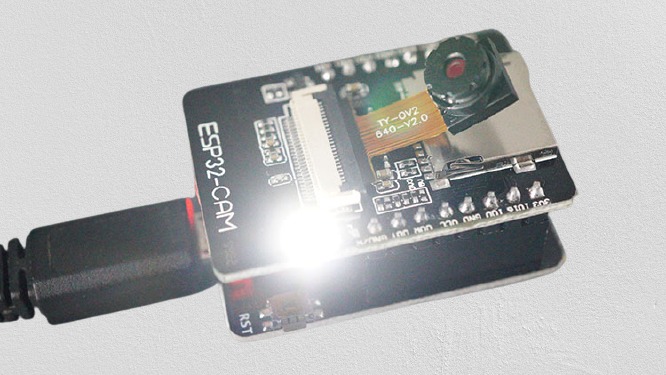
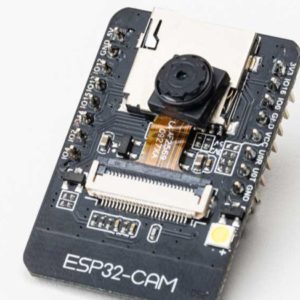
The ESP32-CAM AI-Thinker MB programmer is a shield that you attach to your ESP32-CAM board GPIOs. The following image below shows the programmer and the ESP32-CAM side by side.
The programmer comes with the CH340C USB to serial chip. This allows you to program the ESP32-CAM using the USB port on the shield.
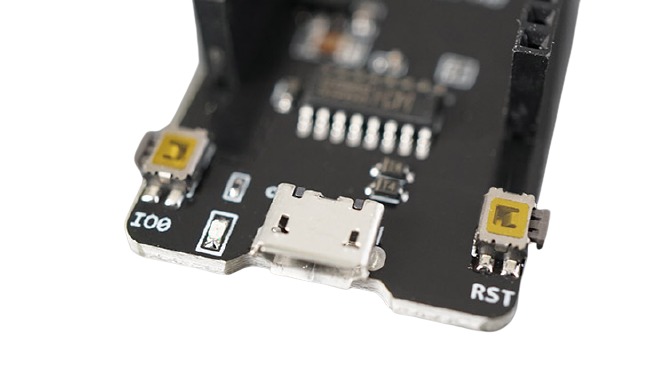
The shield also comes with RESET and BOOT (IO 0) buttons. This may be useful to easily reset the ESP32-CAM or put it into flashing mode.
To program the ESP32-CAM board with Arduino IDE, you need to have Arduino IDE installed as well as the ESP32 add-on.
Then, simply connect the MB programmer to the ESP32-CAM as shown in the following image.
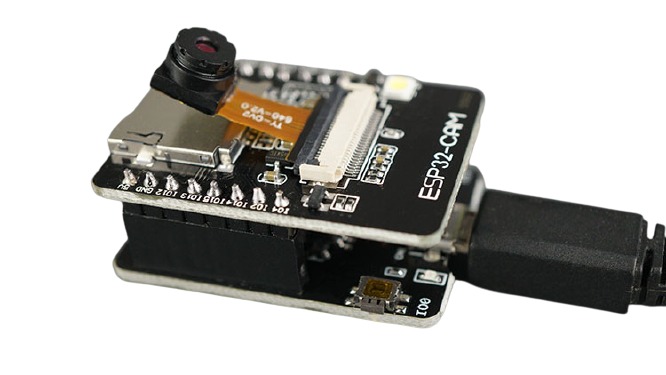
ESP32 CAM MB Programmer
Then, connect the board to your computer using a USB cable.
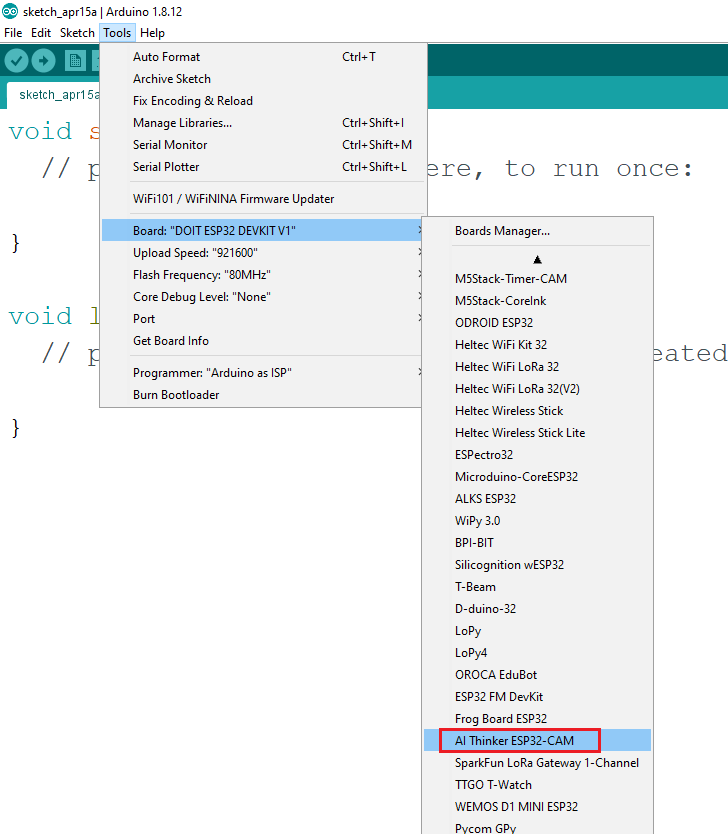
After that, in your Arduino-IDE, follow the next steps:
Go to Tools > Board and select AI-Thinker ESP32-CAM. You must have the ESP32 add-on installed. Otherwise, this board won’t show up on the Boards menu.
- Go to Tools > Port and select the COM port the ESP32-CAM is connected to.
Note: if the board doesn’t show up, it means that you probably don’t have the CH340C drivers installed on your computer. Go to Google and search “CH340C drivers” followed by your operating system and install the drivers.
The code given below is a basic code that will help you to blink the LED on the CAM.
// ledPin refers to ESP32-CAM GPIO 4 (flashlight)
const int ledPin = 4;
void setup()
{
  // initialize digital pin ledPin as an output
  pinMode(ledPin, OUTPUT);
}

void loop()
{
  digitalWrite(ledPin, HIGH);
  delay(2000);
  digitalWrite(ledPin, LOW);
  delay(2000);
}
This sketch, simply blinks the onboard flash LED.en.wikipedia.org
- Then, click the Upload button in your Arduino IDE.
You should get a message saying the code was successfully uploaded and your board should start blinking.
- Operating voltage 4.75-5.25V
- SPIFlash default 32mbit
- internal RAM 520 kb + external 8 mb PSRAM
- Wi-Fi / e / I
- Bluetooth 4.2BR / EDR and BLE standard
- Interface support (2 Mbit / S) UART, SPI, I2C, PWM
- Support TF card, maximum support 4G
- Spectrum range 2400 ~ 2483.5MHz
- Antenna shape Built-in PCB antenna, gain 2dBi
- Image output format: JPEG ( only supported OV2640), BMP, grayscale
- Packing method DIP-16
- Transmit power 802.11b: 17 ± 2dBm (@ 11Mbps)
- 802.11g: 14 ± 2dBm (@ 54Mbps)
Based on 0 reviews
Be the first to review “ESP32 CAM MB USB Programmer Board CH340G USB To Serial Port”
You may also like…

Related products
-
Converters, Programmers & Microcontroller
CP2102 6PIN MODULE USB 2.0 TO TTL MODULE SERIAL CONVERTER
About this item
- USB to TTL adapter with CP2102 chip are stable and reliable.
- Supports baud rates from 300bps ~ 1Mbps between.
- Input MICRO MINI-USB cable connected to the computer USB interface, with 3.3V and 5V two power output.
- Apply for USB to TTL electronic projects, easy to connect to your MCU, Status LED for TX, RX.
- Support for operating systems: 98SE, 2003, XP, Vista, Window7, 8,10, Mac OSX , Linux 2.6.x and 2.4.36.
SKU: n/a


There are no reviews yet.